

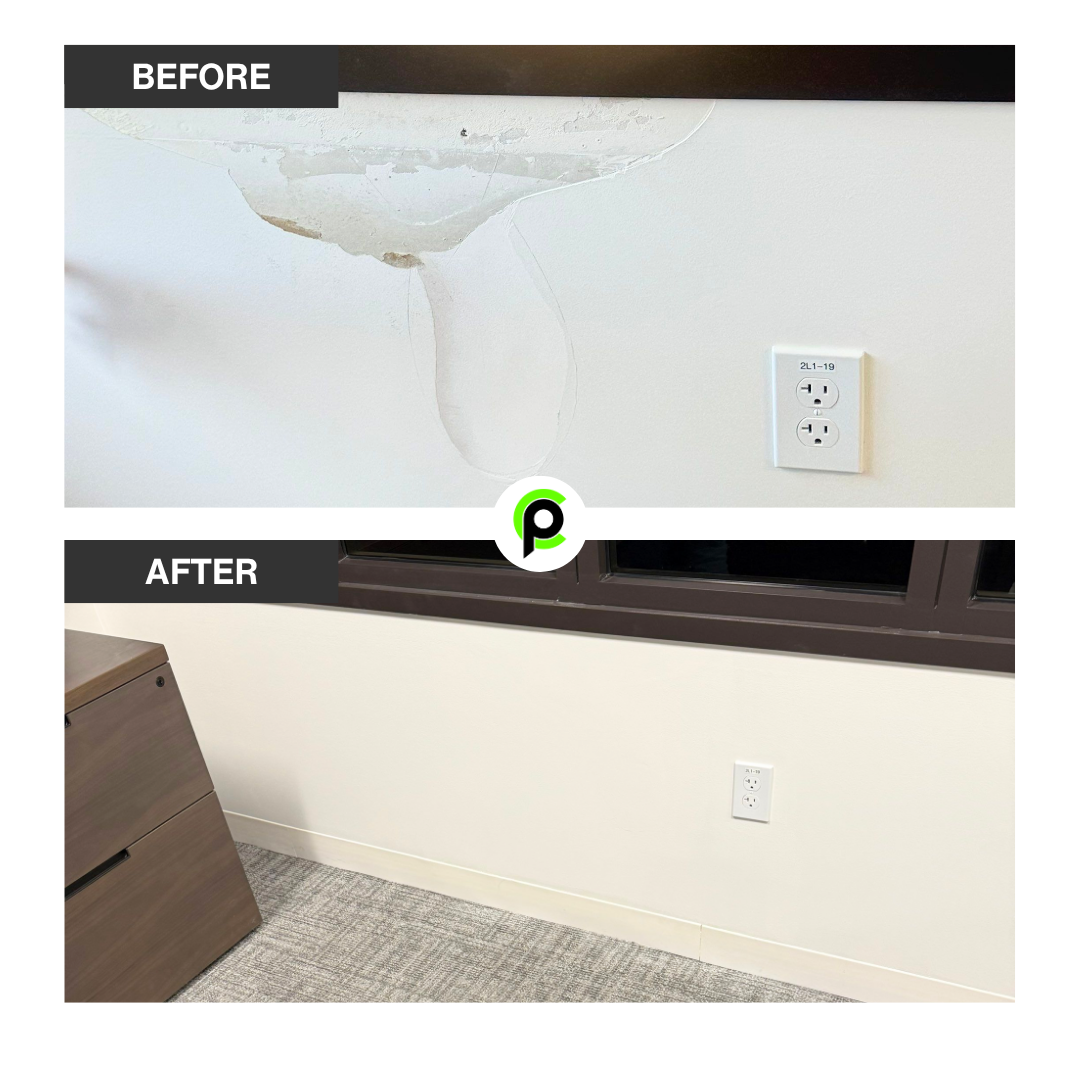


See how CPI completed a mural prep project in just 24 hours for a San Jose client, showcasing precision, speed, and expertise.
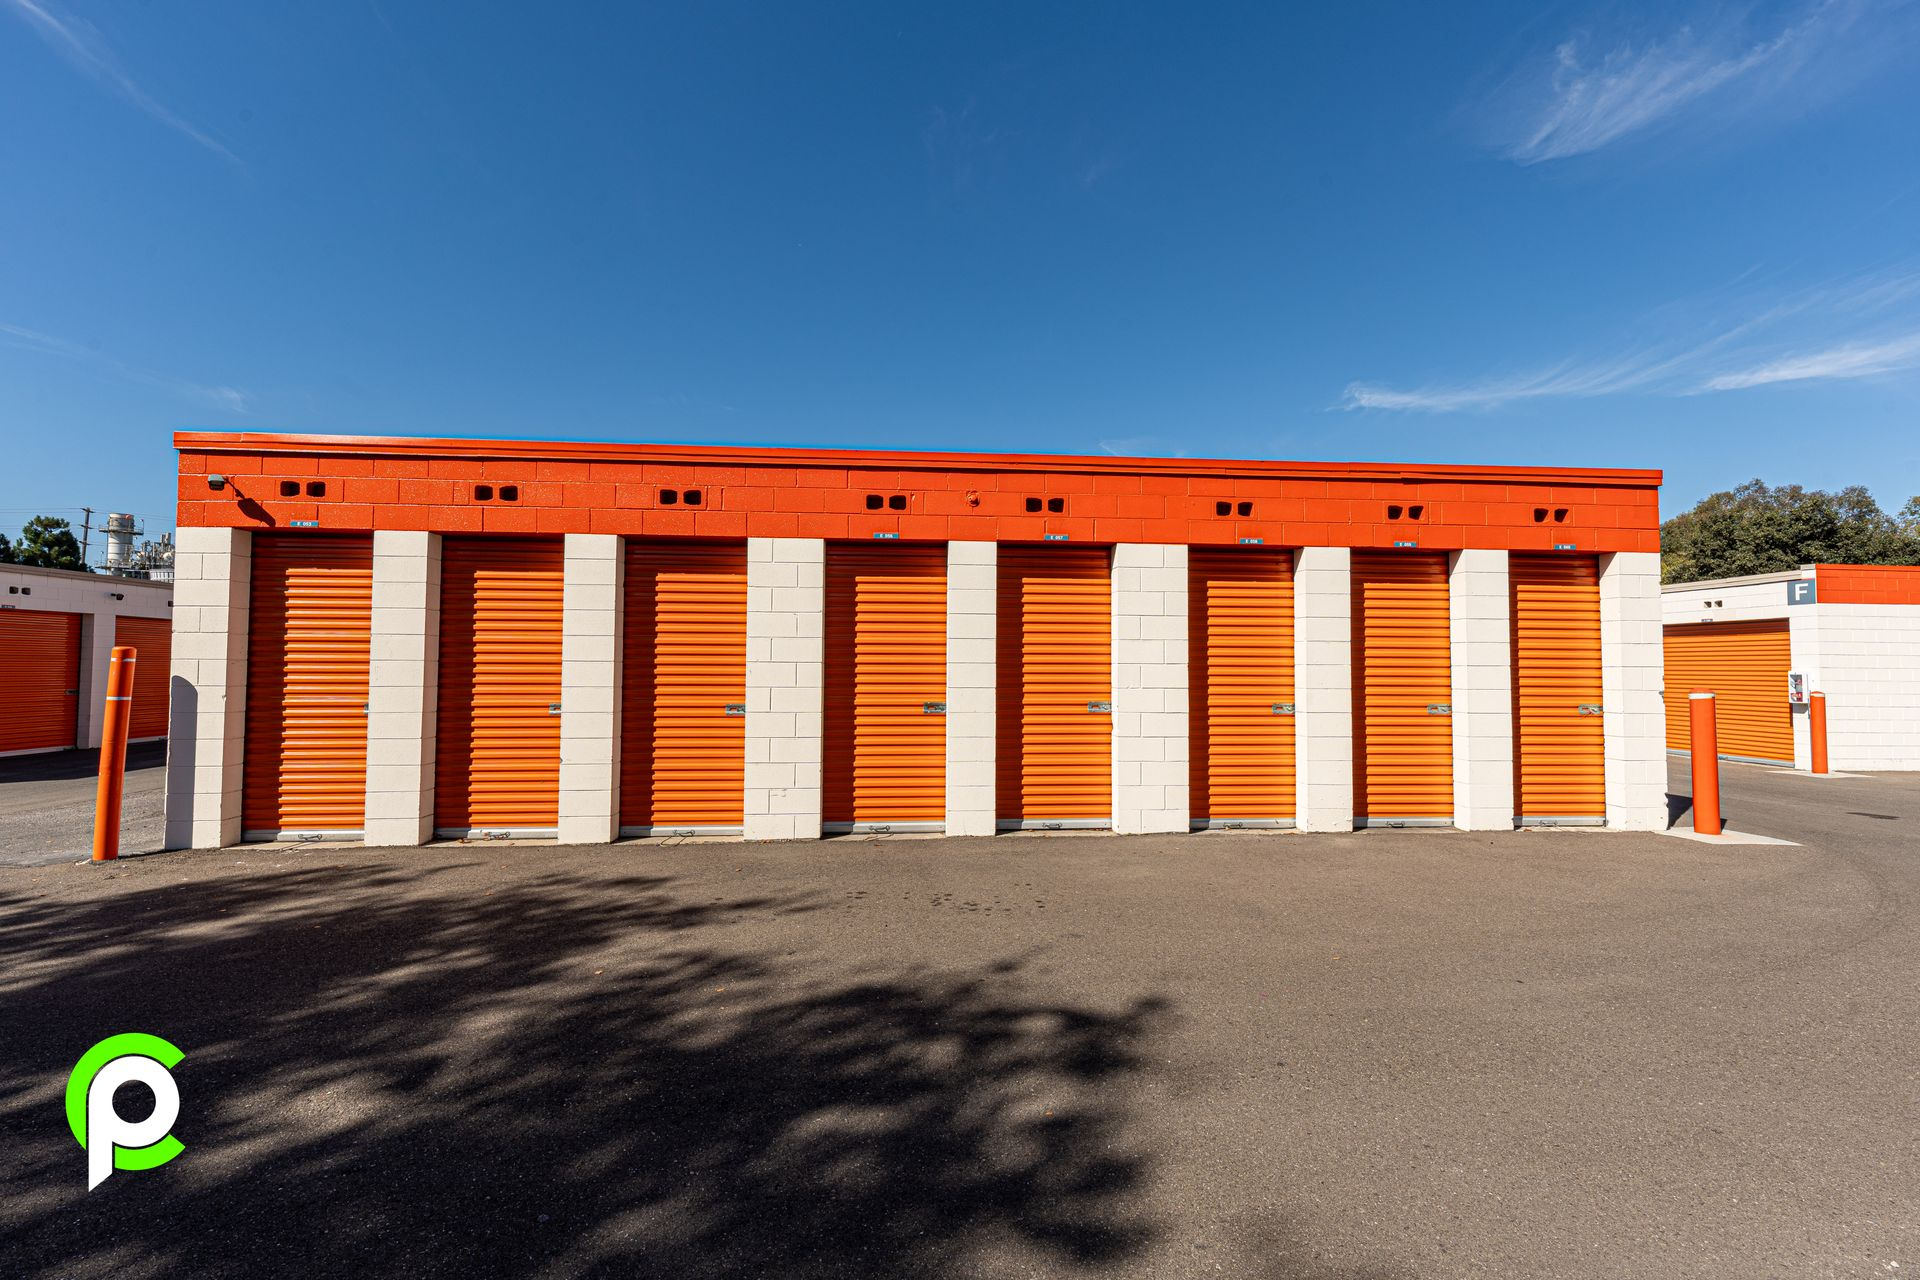
CPI repainted Public Storage in Santa Clara, using durable coatings and bold finishes to refresh the brand’s signature orange look.
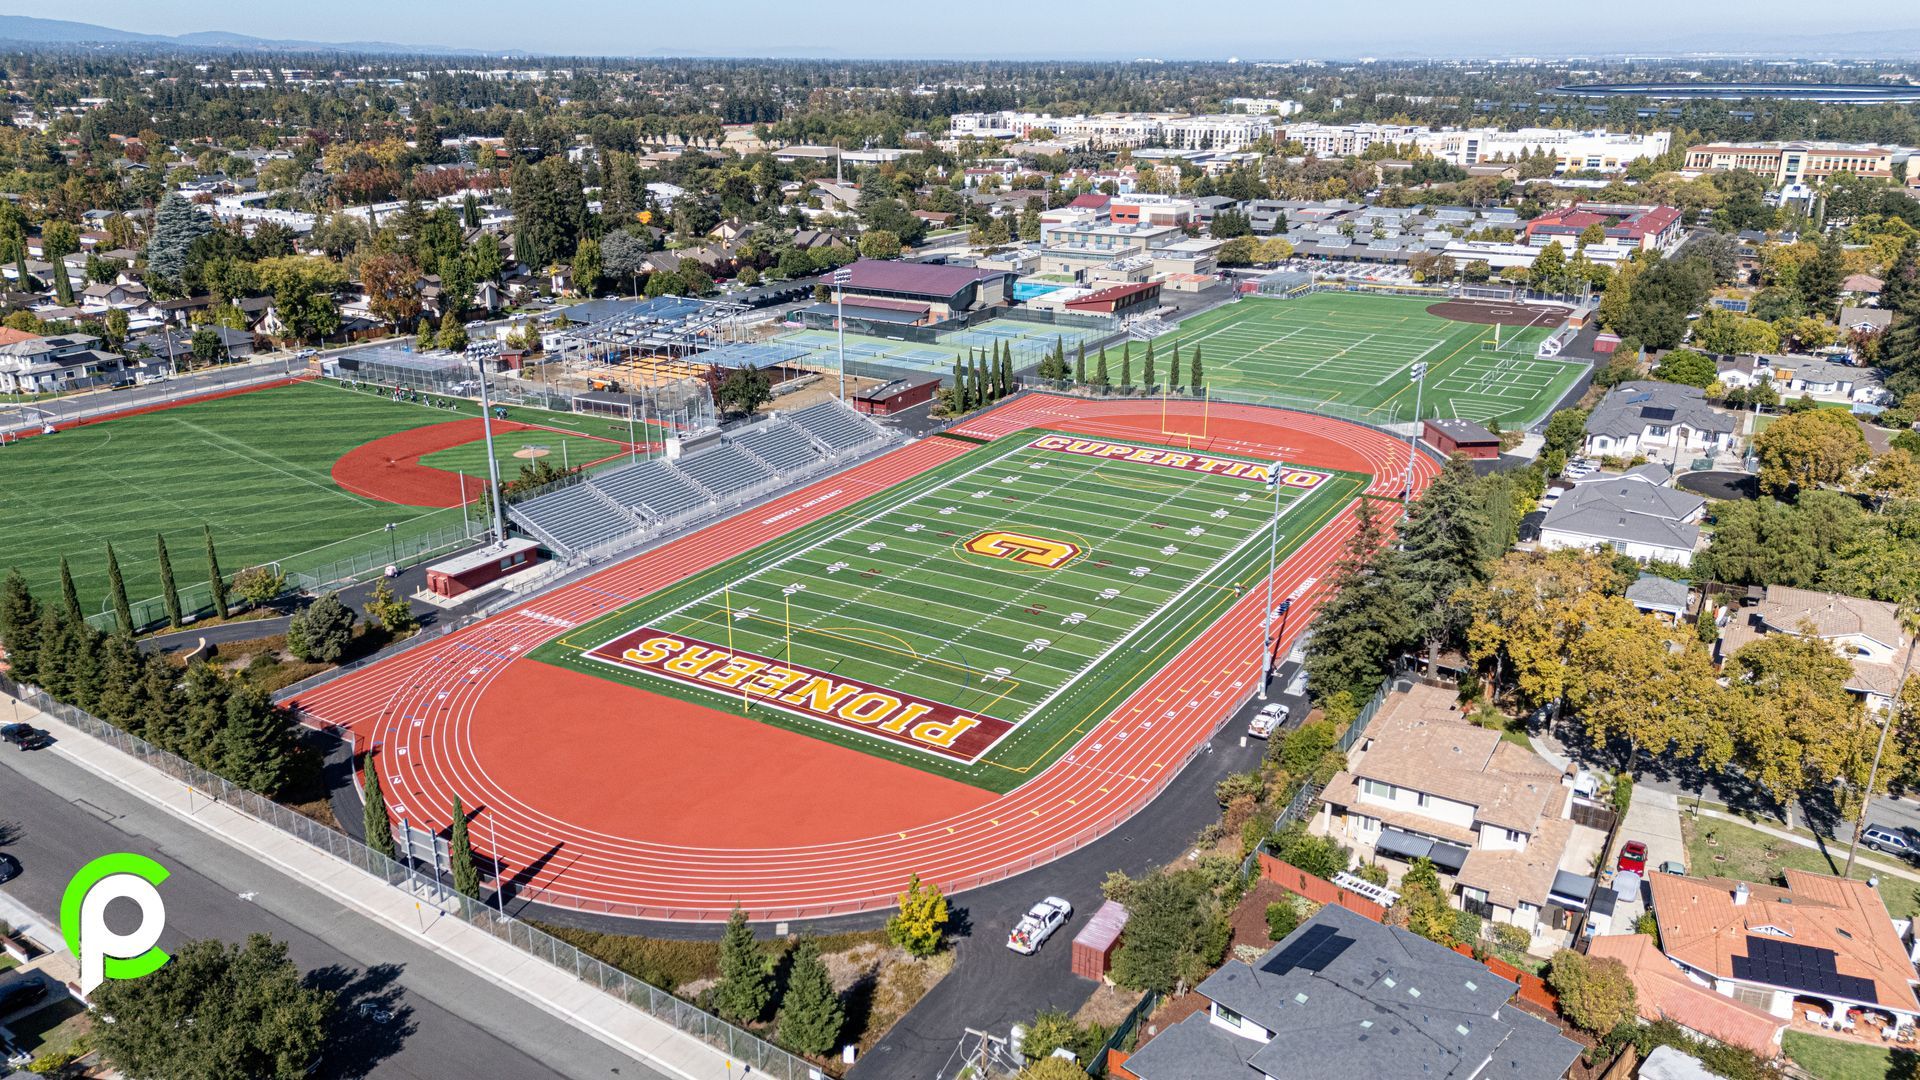
CPI restored Cupertino High’s goal posts with durable coatings, protecting metal surfaces and ensuring lasting color and performance.
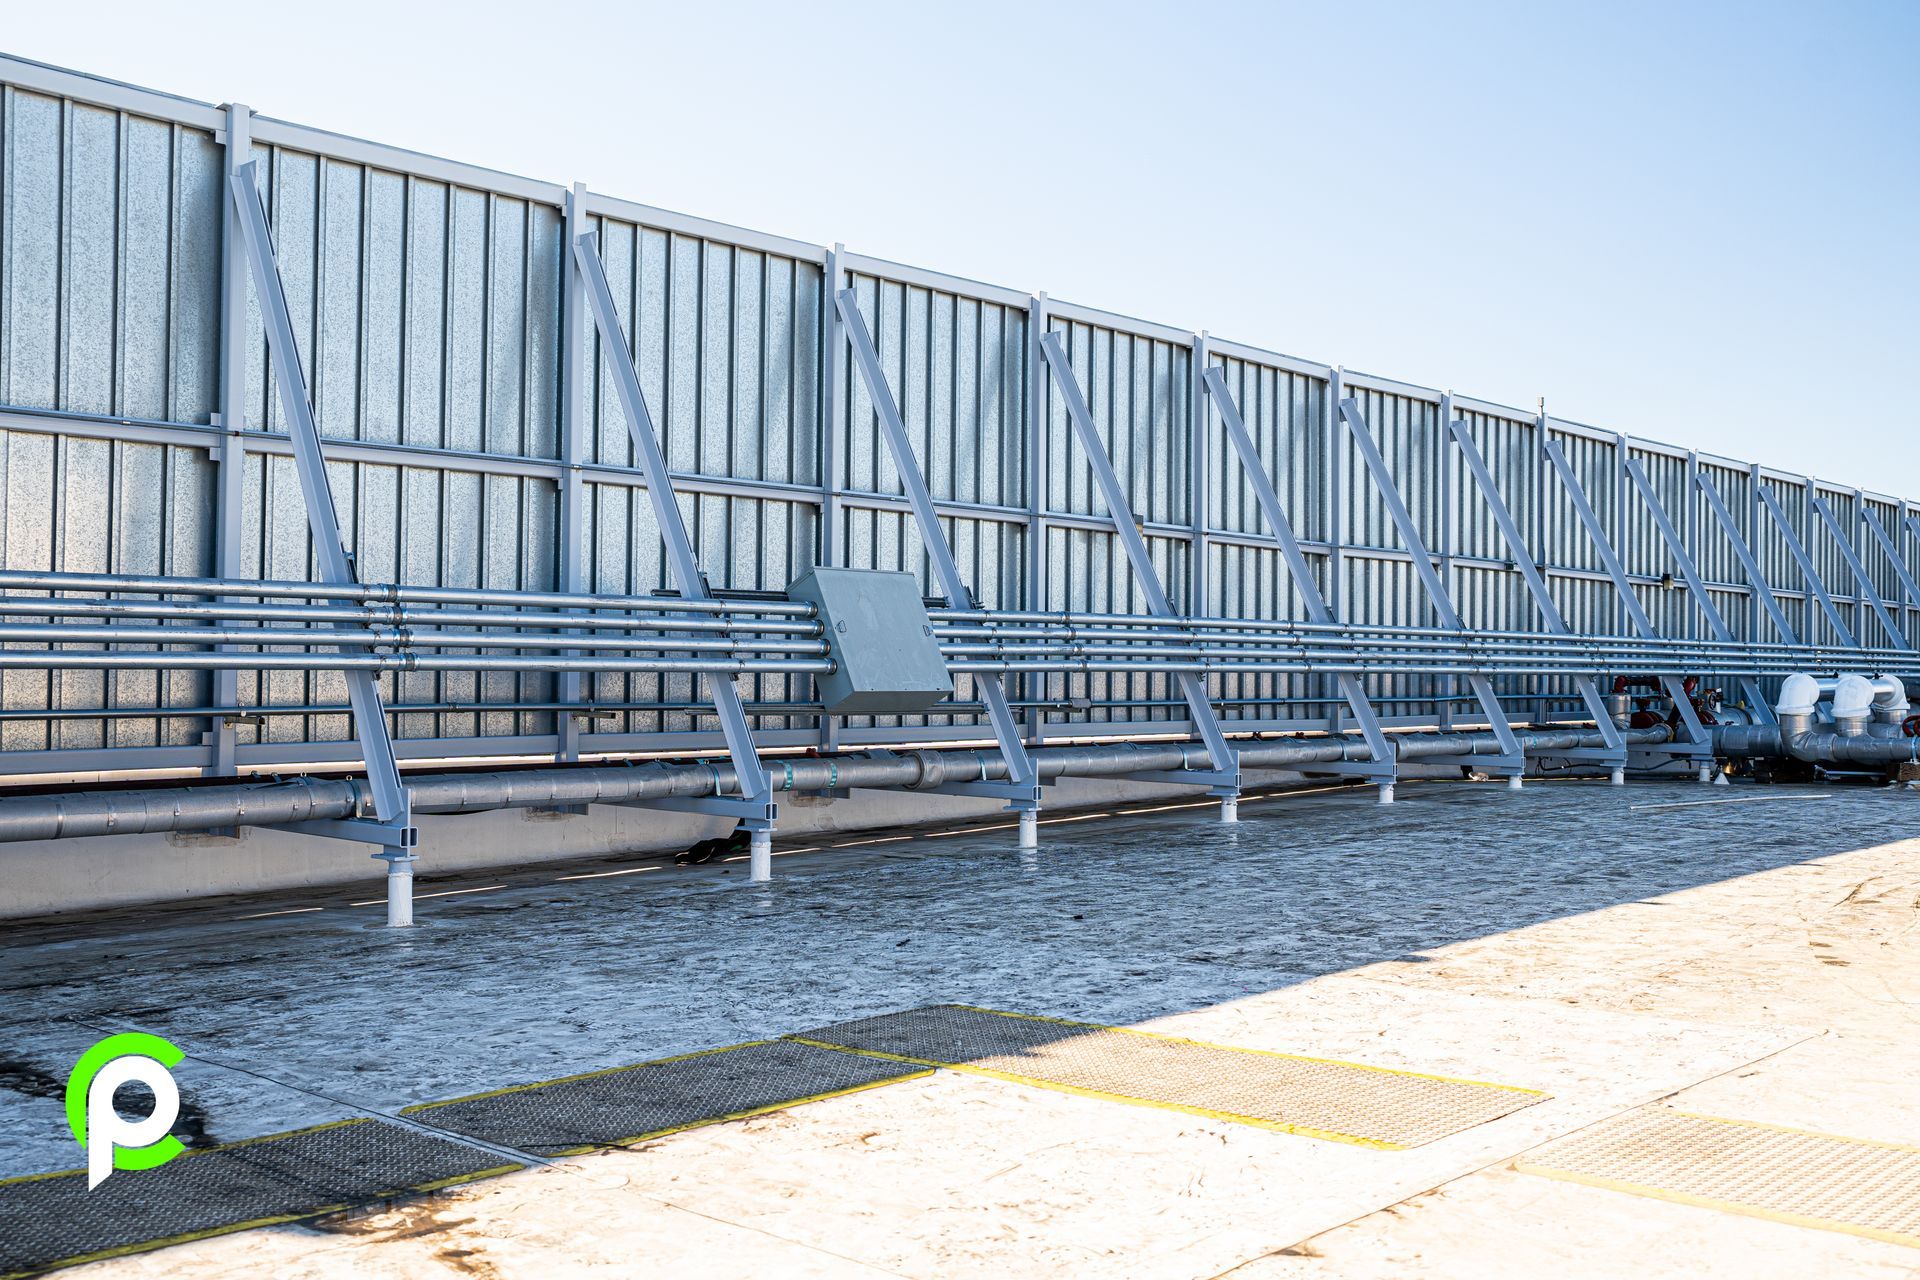
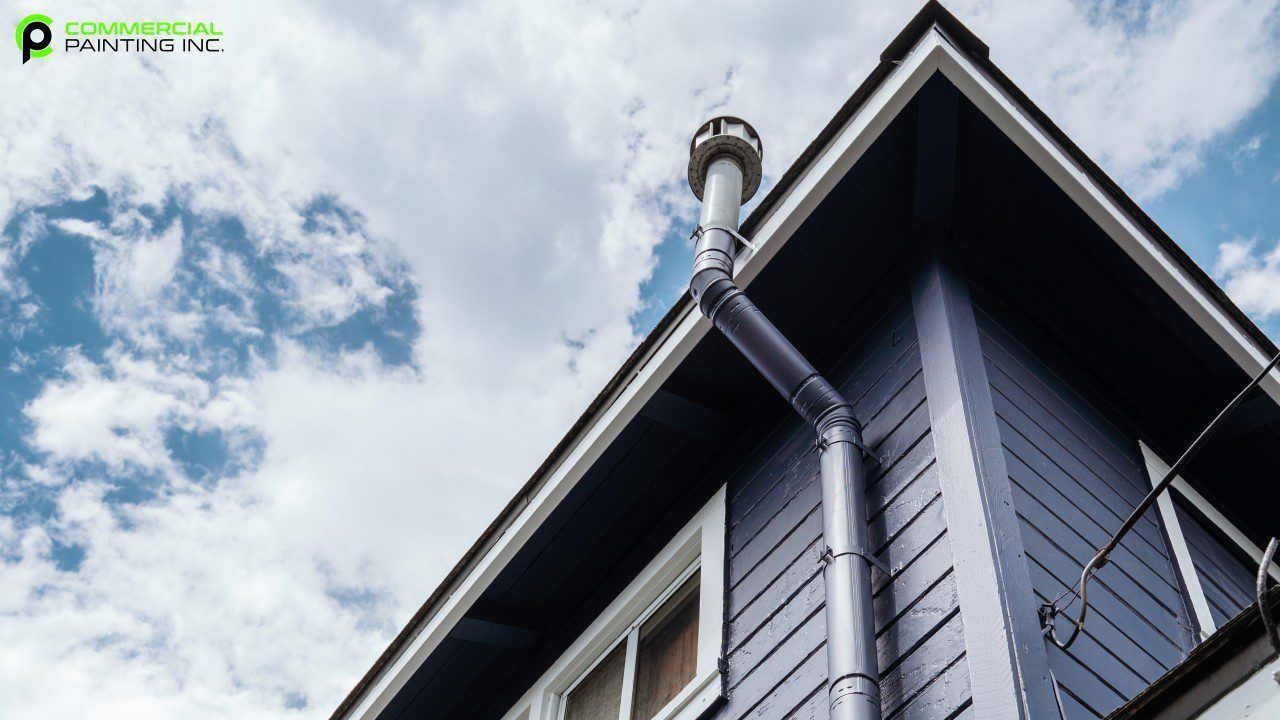
CPI completed expert roof maintenance painting in San Jose, restoring corroded metal surfaces with durable coatings for lasting value.
Before moving into a new apartment complex the first consideration a tenant usually makes is the location. Whether it’s leisure or necessity, location possibilities are many. As a paint service provider, our job is to be the expert at painting facilities in all possible locations which include near ocean water properties.
CPI offers graffiti repainting and removal services in San Jose to restore commercial spaces fast with expert care and precision.